
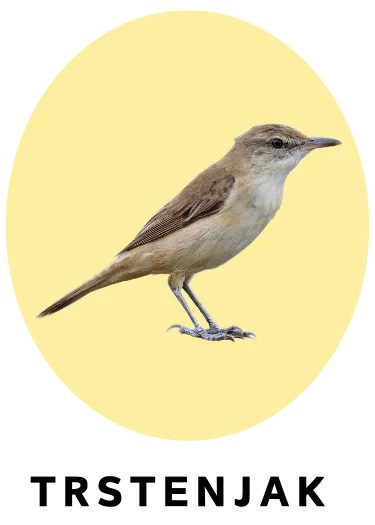
Raising a baby great reed warbler
Hand-rearing and rehabilitation of a great reed warbler chick
The great reed warbler (Acrocephalus arundinaceus) is a bird of wetland areas, and the young of this species need special attention and proper rehabilitation in order to return successfully to the wild. This guide gives detailed instructions on how to raise a great reed warbler properly, create ideal housing conditions and prepare it for release into the wild.
First steps after finding a great reed warbler chick
First, it is important to warm the chick, because young great reed warblers, like many other birds, lose body heat easily. The recommended temperature in the first days of life is between 30 and 35°C. For heating you can use a hot-water bottle, a heat lamp or an incubator. Make sure the chick does not get burned and that the temperature is lowered gradually as it grows and gets stronger.
Its housing should be quiet, warm and safe. At first you can use a cardboard box lined with soft bedding such as paper towels or cloth. The chick must not be exposed to direct sunlight or to pets. Place its housing somewhere free of draughts, where there will be no sudden changes in temperature.
Diet – how to feed a great reed warbler chick properly
Great reed warblers are insectivorous birds, which means their diet should be rich in animal protein. At first the chick will need 8 meals a day, and as it grows, the number of meals can be reduced to 5 a day.
What the meals consist of
Insects – crickets, grasshoppers, small flies, spiders, larvae
Soft-bodied insects – fruit flies and small caterpillars
Small pieces of meat – raw, cut into small pieces (chicken, quail)
Soft parts of earthworms – a rich source of moisture and protein
It is recommended to feed the chick with tweezers or, once it is bigger, by placing food on a shallow tray. The chick should be given moist meals, encouraging its natural hunting behaviour. Soon you can start offering live food such as small insects, which will help the chick prepare for an independent life.
Ideal housing through the stages of development
For the first few days the chick must be kept in a safe, warm and quiet space so that it can recover. Once the chick starts growing and becomes more active, it needs room to practise flying and build up its muscles.
Soft twigs or small branches – create an environment in which the chick can climb and explore
Minimal contact with people – to prevent imprinting and allow it to adapt to the wild
Gradual exposure to natural conditions – start getting it used to the sounds, smells and temperatures of the outdoors
As the chick grows, it can be moved to an outdoor aviary that simulates its natural habitat, allowing it to practise flying and start catching insects.
Preparing for release into the wild
Once the chick is independent at feeding, flying and hunting, it is time to prepare it for its return to the wild. The best time to release a great reed warbler is late summer or early autumn, when conditions in nature are most favourable for young birds to adapt.
The ideal release site is a wetland rich in insects and plant cover, close to its natural habitat. The chick should be released early in the morning or in the early evening, when it is less likely to encounter a predator and has enough time to get used to its new surroundings.
Conclusion
Hand-rearing a great reed warbler chick requires the right diet, safe housing and gradual adaptation to natural conditions. The key aspects of successful rehabilitation are providing protein-rich food, reducing contact with people and preparing the chick for an independent life in the wild. If all these guidelines are followed properly, the great reed warbler will have all the skills it needs for a successful return to the wild, and you will have contributed to the conservation of this species.